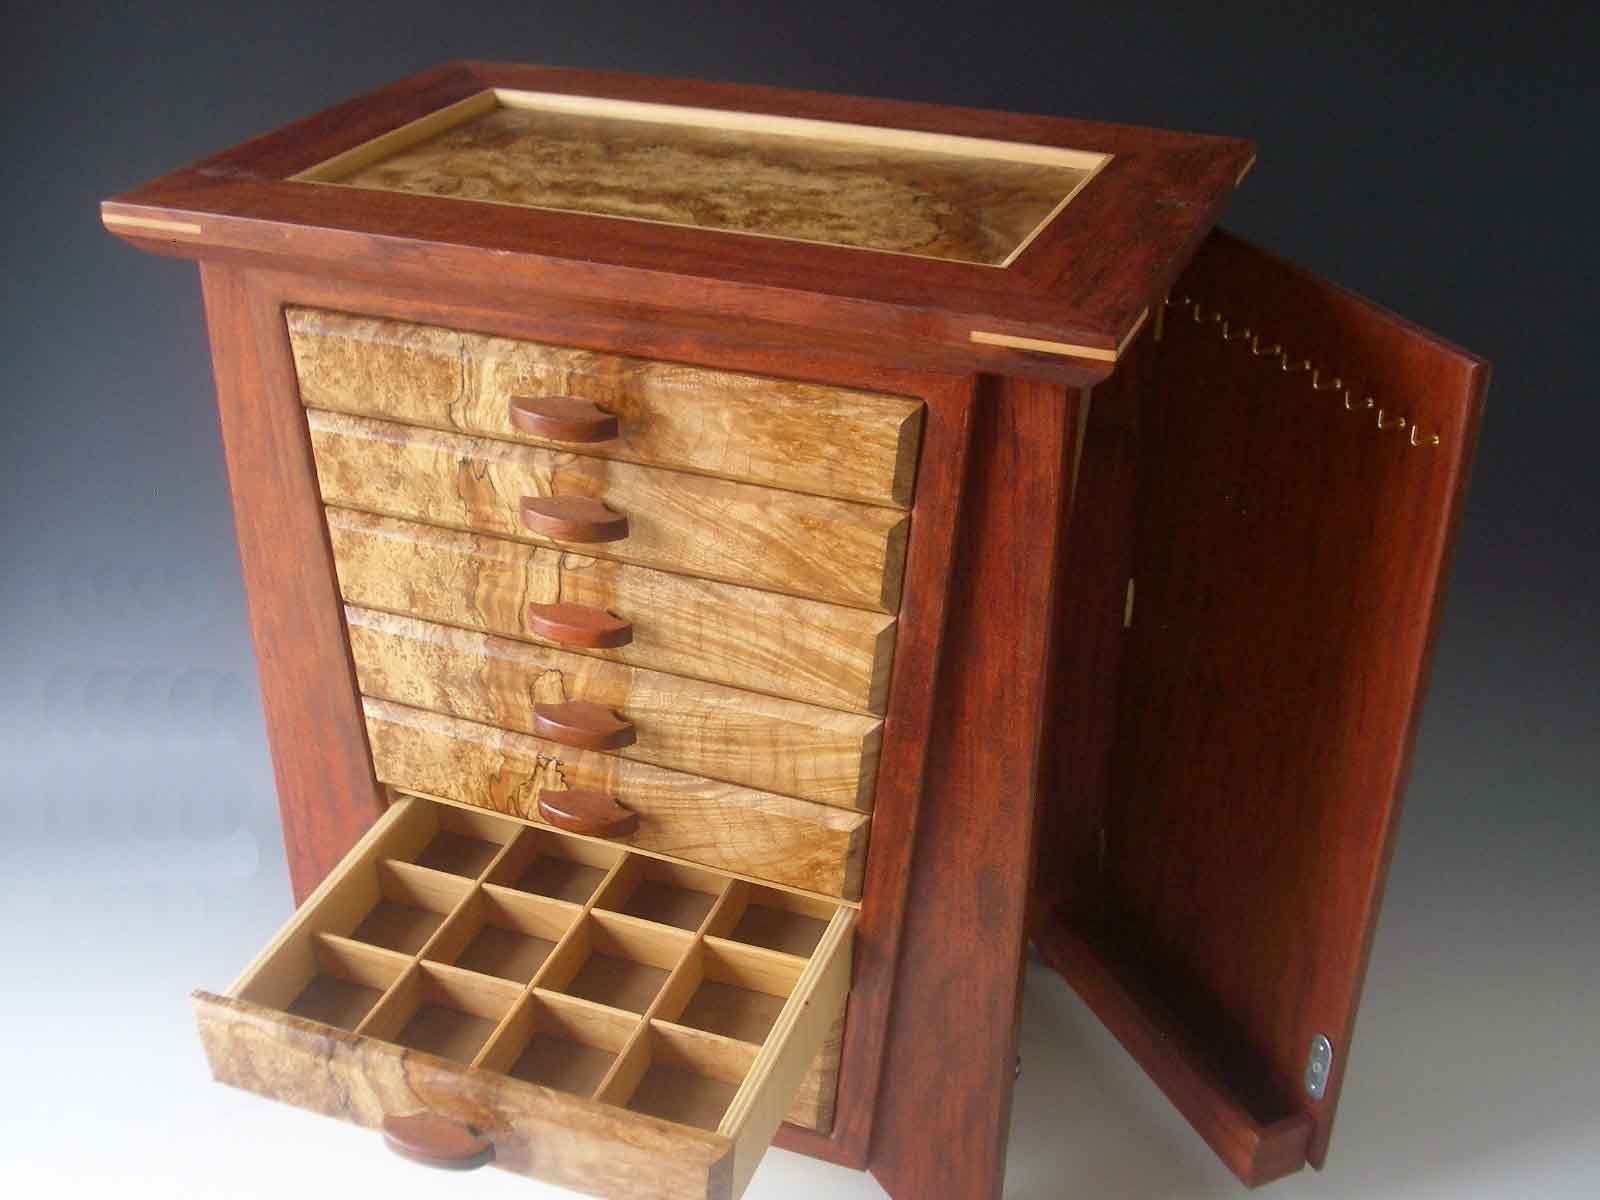
Building Wooden Jewelry Boxes with Multiple Compartments for Organization
A well-organized jewelry collection is a joy to behold. Not only does it make finding your favorite pieces a breeze, but it also preserves their beauty and prevents tangles. Building your own wooden jewelry box with multiple compartments allows you to tailor the storage solution to your specific needs and style. This project combines the satisfaction of woodworking with the practicality of organization, creating a piece that will be cherished for years to come.
Step 1: Planning and Design
Before you grab your tools, take some time to envision your ideal jewelry box. Consider the size, shape, and number of compartments you desire. A sketch or simple drawing can help you visualize the project. Think about the types of jewelry you'll be storing, as this will influence the size and configuration of the compartments.
Size and Shape
The size of your box should accommodate your jewelry collection without feeling overcrowded. A rectangular box is a classic choice, but you can experiment with different shapes, like a square, octagon, or even a heart shape for a unique touch.
Compartments
Multiple compartments allow you to organize your jewelry by type, size, or color. Consider using different sized compartments for rings, necklaces, earrings, and bracelets. A dedicated section for watches or brooches can be helpful as well. You can even add a small drawer for loose items or delicate pieces.
Step 2: Gathering Materials
You'll need a few key materials to construct your jewelry box. The specific materials will depend on your design, but here's a general list:
- Wood: Choose a durable wood that can be easily worked with, such as pine, oak, or maple. The thickness of the wood will determine the box's sturdiness.
- Plywood: Useful for the box's base and lid, providing stability.
- Wood Glue: Use a strong wood glue for secure bonding.
- Wood Screws: To fasten the box's sides and lid securely.
- Finishing Nails: For attaching decorative trim or accents.
- Sandpaper: To smooth the wood and create a polished finish.
- Wood Stain or Paint: To enhance the wood's natural beauty or create a custom color.
- Hardware: Hinges, clasps, and decorative elements like knobs or handles.
- Felt: For lining compartments to protect jewelry and prevent scratches.
Step 3: Cutting and Assembling the Box
With your materials ready, it's time to bring your design to life. Use a saw to cut the wood to your desired dimensions. You can use a table saw, circular saw, or jigsaw, depending on your tools and comfort level.
Cutting the Sides
Cut four pieces of wood for the sides of the box. Ensure the pieces are the same height and length.
Cutting the Base and Lid
Cut two pieces of plywood or wood for the base and lid, ensuring they are slightly larger than the base of the box to create a secure fit.
Assembling the Box
Using wood glue and screws, assemble the sides of the box. Align them carefully and secure them together. Once dry, attach the base to the box sides using screws or nails.
Step 4: Creating Compartments
To create compartments, you can use wood dividers or build them directly into the box structure.
Wood Dividers
Measure and cut pieces of wood for the dividers. These dividers will be the walls of your compartments. Glue and secure them in place, creating the desired compartment configuration.
Built-in Compartments
If you prefer built-in compartments, you can cut the box's base to create separate sections. Cut a piece of plywood or wood to fit inside the box as a false bottom. Mark out the desired compartment sizes on the false bottom and cut them out. Secure the false bottom to the box's base to create compartments.
Step 5: Finishing Touches
The finishing touches are what make your jewelry box truly unique.
Sanding and Staining or Painting
Smooth any rough edges and imperfections with sandpaper. Apply a wood stain or paint to enhance the wood's natural beauty or create a specific look.
Felt Lining
Line the compartments with felt to protect your jewelry and provide a soft resting surface. You can cut the felt to fit each compartment or use a single piece for the entire box.
Adding Hardware
Attach hinges to the lid, secure a clasp, and install any decorative elements, such as knobs or handles.
Step 6: Enjoying Your Creation
Congratulations! You've built a beautiful and functional wooden jewelry box with multiple compartments. Fill it with your precious pieces, arrange them thoughtfully, and enjoy the satisfaction of knowing you created a personalized storage solution that will bring joy for years to come.


No comments:
Post a Comment
Note: Only a member of this blog may post a comment.